Valves (difficulty rating 3 (can be a bit tricky))
By definition if you are going to re-valve your accordion, you are going to have to re-wax the reedplates back in (unless you have bought one of our quality old clubs some of which have the reedplates held in place with screws rather than wax) . Lets start with the valves…..
The purpose of the valves is to block off the silent reed when the other is playing. Older boxes often have leather valves which did the job for many years but have now gone dry and stiff. On the treble side there is no question that a modern plastic reed is far superior to these. For the bass end leather is considered better than the synthetic alternative by some people. But the synthetics do the job well here as well.
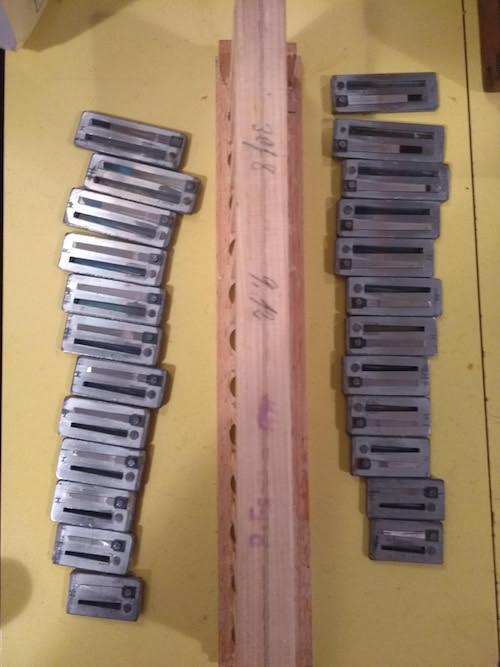
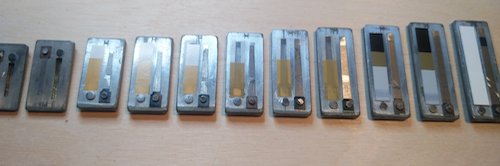
First job….remove all of the reed plates. A word of advice, lay these out in order as you remove them, keep each side of the reedblock separate. Make sure you have a system which ensures all reeds go back where they came from! seriously!
- Metal pins should first be removed (it is up to you if you put these back in, they are not really necessary)
- Gently prise off the metal reed plates from the wooden reed blocks
- On each reed plate remove the old leather valves (chuck them away) and give the reedplate a good clean. Firstly scrape off the wax from the edges and then use wire wool or a scrubbing block to clean all rust and rubbish off of the reeds and the plates, you should end up with a sparkly clean reed plate
- To ensure that the valve clears the reedblock without fouling the chamber trim the valve to size. Using a scalpel or small sharp scissors trim the end to length
- To fix them on, use a good high tack PVA or the goop of your choice. A small amount on the first few mm of the valve at the rivet end of the reed is ideal.

Measure the valve and trim to length 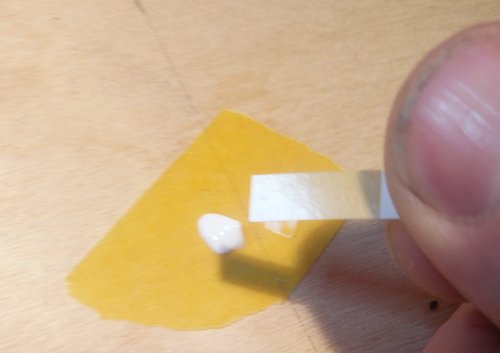
Apply Glue 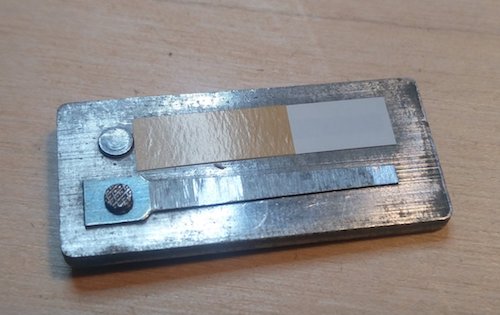
Stick in place
Waxing
Having removed all of your reed plates to re-valve them (unless you have plates held in with screws or nails) you will need to wax them back in. There are many different ways of doing this
I find a temperature regulated soldering iron is a good way to go, i have a cheap iron with a dimmer switch attached but you could buy a proper soldering iron for the job.
- Place the reedplates carefully in place
- Use the soldering iron to run the wax around the plates, practice on something else first, once you have the hang of this it becomes easy. sometimes it is best to just tack in place, then check the sound before fully waxing.
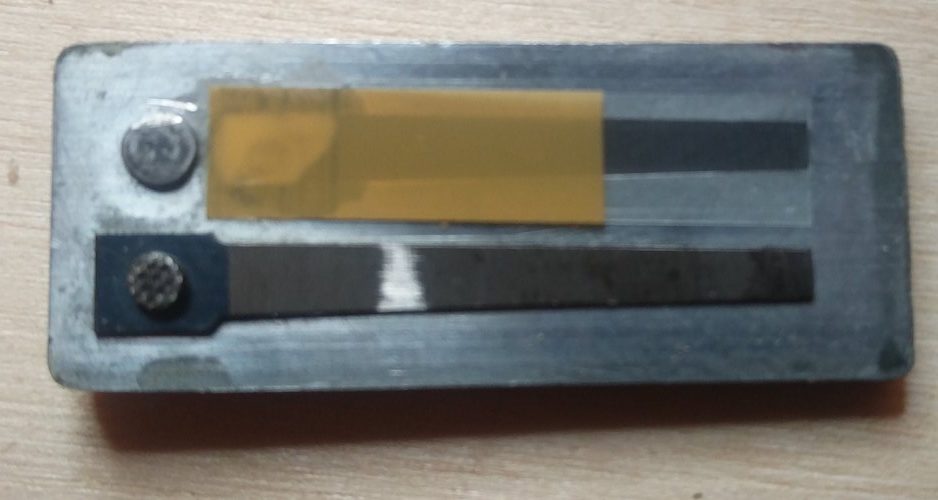
Re valved 
Ready for wax 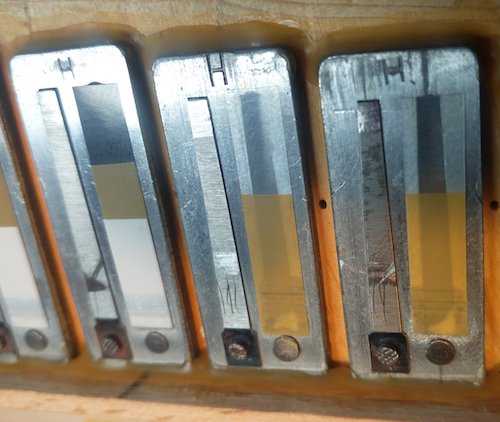
Tacked in place top and bottom
On the inside reed it helps if you put the valve on a little bit on the wonk with the tip closer to the middle of the plate, this helps avoid the valve catching on the block